Let me ask you something. Are you tired of misplacing your favourite pair of earrings? Are you frustrated of destroying your favourite earrings while untangling them? Fret not ladies, I have an amazing solution.
PRESENTING TO YOU, YOUR VERY OWN EARRING HOLDER

Do ignore my dramatic moment, I was just excited. A month back I had shared a tutorial on my Ear Stud holders and I mentioned that I made an organizer for my dangling earrings as well. I had to wait until I stocked up some really pretty looking earrings before I could upload as I wanted it to be visually pleasing to your eyes. *winks*
However, I won't be doing a tutorial tutorial because currently I do not need another one and I don't have anyone to give this as a gift. Nevertheless, scroll down to find out how I did this particular project.

It may not be filled totally but I am so happy with the colours on it. For this project, I only used about 3 to 4 objects and all of these items can be found at your home. That's the best part about DIY isn't it? I used an A4 sized photo frame which I purchased from IKEA (love,love,love IKEA), a pantyhose some cardboard pieces and glue.
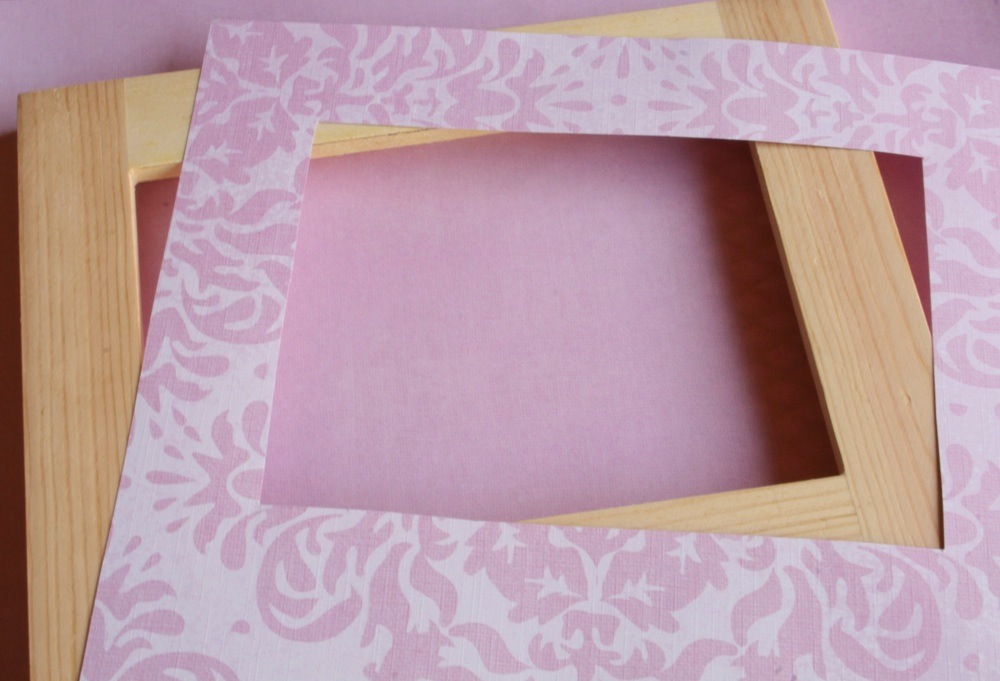
You can use wire mesh or any kind of netting to hook your earrings but I couldn't get any of those from my home so I ended up using the pantyhose. Using a photo frame definitely has its perks. Firstly its pretty and simple design requires you little or zero effort to make it look more elegant. Secondly, it comes with a cardboard with a space in the middle as shown below.
Disclaimer: I do not own this picture, got it from Google Images.
So all you have to do is to insert this cardboard sheet into the pantyhose and attach it back to the photo frame. It is so simple and doesn't even take a lot of your time.

Unfortunately, if you noticed my frame, it is not very deep and if I were to wrap it around the cardboard sheet, the hooks of my earrings will not be hooking itself onto the pantyhose very conveniently. Wow, that's a pretty long sentence but I hope you get what I meant. So what I did was I cut out some strips (2cm in width) and attached it to all 4 sides of the cardboard to give it some volume. This is made me hook my earrings easily. I liked the fact that my earrings will be resting on the soft pantyhose rather than the strong cardboard. Using a superglue I glued the sides so that it doesn't fall apart.

A close up look. For the background, I used a shiny gold coloured paper. You can use any background of your choice. I wanted to keep it simple and elegant as I wanted the focus to be on my earrings and not on the frame. I was really happy with the way it turned out because the colours complemented my earrings and every time I look at the collection of my earrings it makes the DIY so worthwhile and fulfilling.

Once you are done, you can choose to hang it on your wall or just let it rest on the table like I did. I did a tutorial on both the ear stud holder as well as the makeup brush holder so do check it out by clicking on their links.
It is a great display and it adds colours to my dull dressing table. If you are wondering where I got my earrings from, almost half of them were gifts from friends and family who went to Thailand and Australia for holidays. The more elaborate ones were from Tekka Market located at Little India. I must say they were really worth it as they were selling them for $10 for 3 pairs. Bugis Street also has several nice pairs but you would be spoilt for choices in Tekka Market.
Personally I think there is no need for me to do a tutorial on this project as it is so simple and there are so many demonstrations on YouTube. You can also check out videos on YouTube for more amazing variations on this project.
Finding my earrings are definitely much easier and now it doesn't get tangled with one another easily. There have been moments where I tried to untangle them and I broke a few of my favourite pairs. *sobs*
Finally, if you do like my posts, please continue to follow up and remember to share it with your friends. Have a great weekend y'all!


