Hello Everyone! This post might have an overload of photographs but I hope you will enjoy them because personally I am very satisfied with how the pictures had turned out. Previously, I had shared about some DIY Mini Birthday Cards and I had mentioned that I had presented them in an Explosion Box Card. I may have repeated this before, but it was an absolute joy doing this particular birthday project. I must admit that this took slightly longer than expected due to lack of inspiration. But when I looked at the final product and witnessed the reaction of my best friend when she received it, I knew that all the time spent on it was so worthwhile.
I made a short video (tried to make it as short as possible) to show how it looks like when it is opened up. Before I spoil it any further, please watch the video before scrolling down the pictures because the effect won't be there!
My DSLR was low in battery and I couldn't find my charger which sucks big time because I am sure the video quality would have been so much more promising. Nevertheless, I took some pictures with my iPhone 4S which I really love and it turned out presentable too. So, I made 3 layers in total, no particular reason why. Unlike most explosion boxes I didn't glue the bottom together because I had printed too many photographs so I decided to use the base for photographs. Also, it would be easier to view each flap more conveniently and the mini cards can be taken out easily as well.
I decided not to do a tutorial because there are so many other amazing tutorials and I would just like to share some ideas if you decide to make one yourself. My outer box is about 4.5in x 4.5in (11.5cm x 11.5cm). The main reason for the box is to hold my mini cards and I wanted to make it as colourful as possible to signify how enthusiastic and positive Roslina is, but at the same time not make it look over done. Allow me to take you through the layers.

I kept the outer look simple so that when it opens up it will be a pleasant surprise.

This is how the first layer looks like when it is opened up.

Initially I wanted to put this on the cover but it did not go well with the whole floral feel so I decided to place on the middle and it fitted nicely. This was done in Photoshop, it is really simple to make and it doesn't take so much of your time. You can even choose to print this in a bigger size and give this as a birthday card.

I bought most of the cardstocks from Paper Market (they have one at Plaza Singapura and Vivocity). I made an opening so that I can slot in my card. I tried to match the cards according to the colours used on each flap.


At first, I decided to attach one card on one flap but this turned out bigger than expected so I was able to slot in 2 instead.

This is one of my favourite flap. I saw something similar when I was searching for inspiration on the internet. The caption says "Wishing you bags and bags of happiness..."

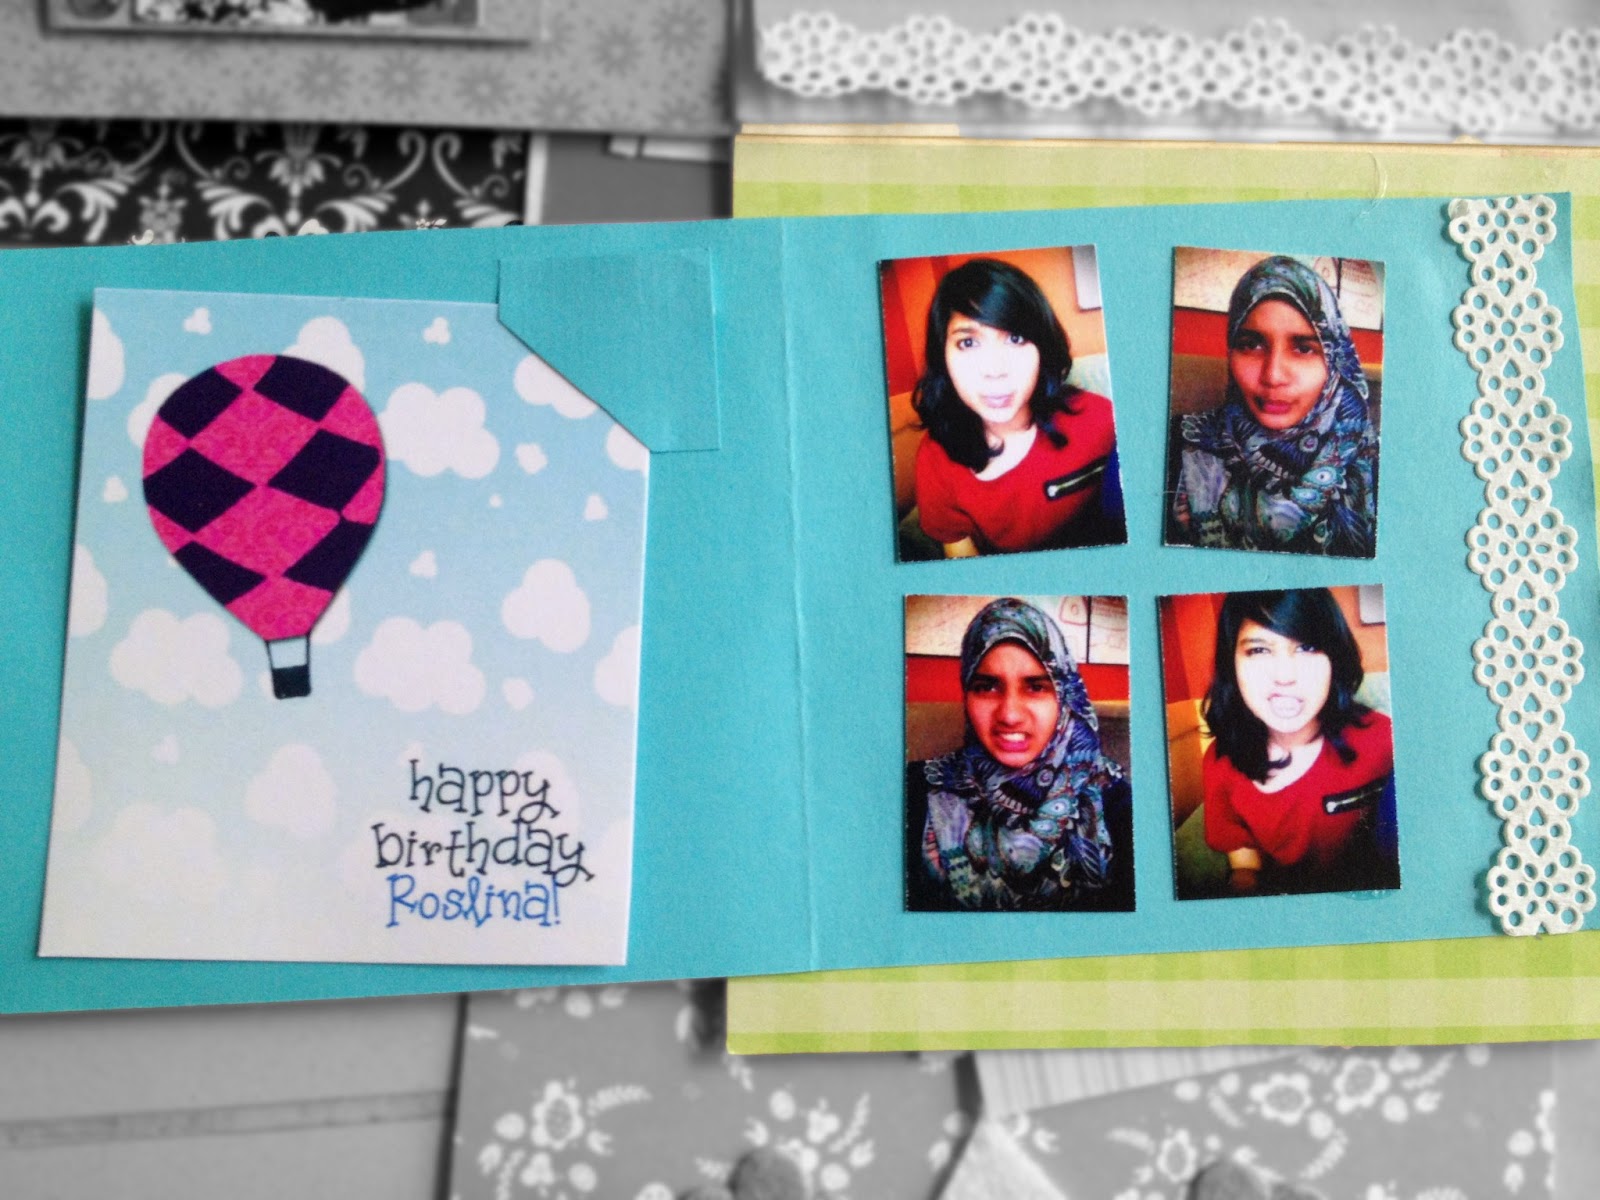
This is the second box. I love the silhouette portraits and I was so happy the way it turned out.

This layer had more of blues and greens and the colour combinations looked so pretty.

I love this flap because first I think the card is cute and the translucent card holder gives a very nice effect.

I love everything about this flap, from the rinestones, lace border, picture (you the the point when I say everything).

Poloroid inspired flap and I happened to have a card stock which went really really well with the mini card. yay!
I forgot to take a picture of the front. This was really cute because it was designed like a mini book where you open it.

The middle where I managed to put the photographs that I had printed.

The last layer. I think the bicycles are really cute. *heart-shaped eyes emoji*


I had too many photos which I couldn't place it in the box. So I made a tiny green envelope and slot in all the photos that I had left.

Lastly.....
the cutest part of the card
.
.
.
.
.
.
.
.
.
.
.
.
.
.

I made a tiny mail box with the remaining papers I had so that I can slot in my birthday message. I had so many ideas for this. I was thinking of putting a mini balloon but I had no helium gas. boooo! Then I thought of making a basket and put some flowers but it would be too small. Finally I settled on the mailbox which appeared really awesome.
Pardon me if I had complimented the work too much because I was so happy with the end product. There so many other great videos on YouTube. I saw a wedding explosion box where it looked like a Chapel which was really sweet. There was also one which was Halloween themed and it looked like a haunted house. It is really fun to make and there are so many occasions where you can present this. Feel free to comment and ask me any questions regarding this project. I will try my best help. Till then, have a great week ahead everyone!


Hey! did you do a tutorial video for this explosive box ?
ReplyDeleteHello! Sadly, I didn't do a tutorial for this one but I am planning to do one in the future.
DeleteBut you can check this video (http://www.youtube.com/watch?v=-8xL_zdG_X8) for measurements and instructions. You can also check this video (http://www.youtube.com/watch?v=IYCUdE_Rtcc)for decorating ideas. If you do one yourself,do tag me on instagram or twitter because I would love to see your version of it! (:
Thank you so much! yours is beautiful!! :D
ReplyDeleteNo problem and thank you so much. I hope you have fun making yours! (:
ReplyDeleteHello there! Can I know where you bought those boxes? And do they have a plain version of it?
ReplyDeleteHello! I did not buy those boxes. I made them from scratch out of cardstock papers. If you would like a sample measuremnt, you can check this video (http://www.youtube.com/watch?v=-8xL_zdG_X8). But if you're looking for plain boxes, you can try Art Friend or Daiso. Hope this helps!
DeleteHi
ReplyDeleteCan you make an explosive box for me?
Great tips, many thanks for sharing. I have printed and will stick on the wall! I like this blog. Diy Home Projects App
ReplyDelete